This article is written for parking lots, commercial/office buildings, hospitals, factories, and other access-control sites where reliability matters more than “lab demo” performance.
Why parking LPR is an engineering problem (not just “install a camera”)
In parking, LPR/ANPR success depends on whether the camera consistently produces readable plate images under real conditions: mixed vehicle speeds, glare at sunrise/sunset, wet plates, headlight flare, dirty lenses, and frequent occlusions (SUVs, tailgating, barrier arms, pedestrians). Even strong recognition algorithms can’t recover plate characters that are blurred, saturated, too small, or blocked.
A well-designed installation focuses on four controllable levers:
- Geometry (angle, distance, height, aiming, lane design)
- Image scale (plate pixel density / field of view)
- Exposure (shutter, gain, WDR strategy)
- Lighting (IR placement, power, alignment, glare control)
A quick “good install” checklist (use this before you mount anything)
Geometry & scale
- Keep the total angle low; many vendors recommend staying under about 30° where possible for plate capture.
- Ensure the plate is large enough in the image. Some guidance suggests ~100–150 pixels across the plate width for many LPR engines, while other systems recommend ~200 px minimum—the right target depends on your software and plate types.
- Pick a capture distance that gives your LPR engine enough time (and enough frames) to detect and read a plate—distance is not just “how far can the lens zoom.”
Exposure & lighting
- Use a short shutter to prevent motion blur; maximum shutter depends on vehicle speed and camera angle.
- Limit gain at night to avoid overexposed reflective plates.
- Avoid or carefully validate WDR because some WDR implementations can introduce motion artifacts for moving vehicles; many vendors recommend turning WDR off for plate capture unless you know it’s safe on your model.
Reliability reality check
- Weather distortions (rain/fog/snow/frost), plus camera noise, can reduce ALPR accuracy dramatically—sometimes near zero in worst cases—so design for “bad days,” not perfect days.
1) The physics of plate capture: motion blur and retro-reflection
Motion blur: why angle + speed forces short shutter times
A vehicle approaching the camera head-on changes size but doesn’t slide much across the image. Once you introduce an angle (camera not aligned with travel direction), the plate moves sideways across pixels, and motion blur increases quickly.
A widely used reference shows how recommended maximum shutter time decreases as angle and speed increase. For example, at 30 km/h, recommended max shutter is roughly:
- ~9.7 ms at 10°
- ~4.9 ms at 20°
- ~3.4 ms at 30°
Parking takeaway: If you can’t shorten shutter enough (because the image gets too dark), the best fix is usually reduce angle or improve IR/lighting, not “turn up brightness.”
Retro-reflective plates: why IR must be aligned with the camera
Most license plates use reflective materials that bounce light back toward its source. That’s great for IR-based LPR—but it means your illuminator should be as close and as parallel to the camera’s optical axis as possible, so the reflected IR returns into the lens.
Practical rule: If you’re using a separate IR illuminator, mount it close to the camera (often stacked above/below).
2) Placement rules: angle, distance, and pixel density targets
2.1 Angle targets (horizontal + vertical)
You’ll see different “allowed maximum angles” depending on product and scenario. Some systems note that a camera can deviate quite a bit (example: up to 30° vertically and 50° horizontally in one ALPR camera handbook), but still recommend minimizing angles for best results.
Meanwhile, other capture guidance recommends a total angle under ~30° as a more conservative best practice.
How to apply this in parking:
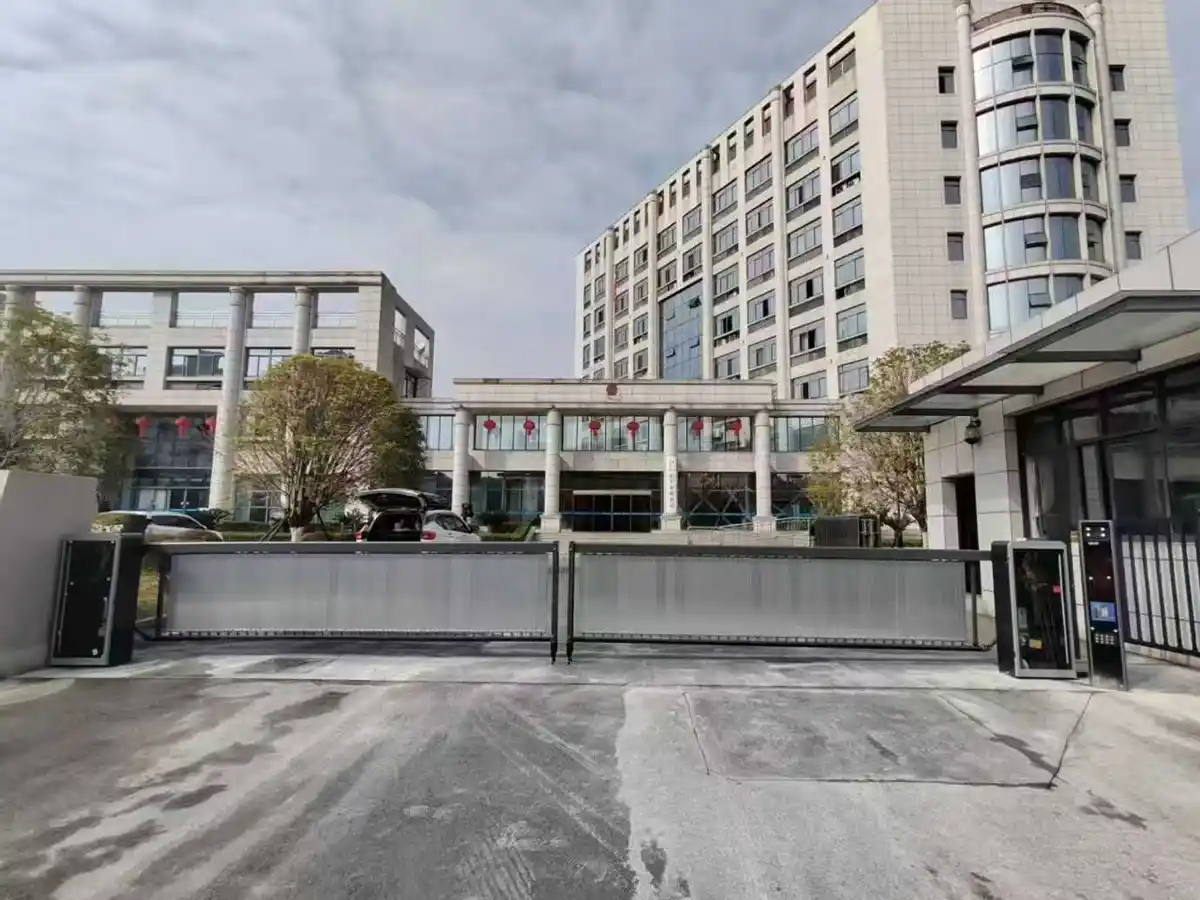
- Gated entry/exit (slow speed, controlled stop line): you can often achieve near-straight-on viewing by mounting near the lane centerline and aiming at a fixed reading zone.
- Barrierless/free-flow lots: you may need wider coverage and accept more angle; compensate with stronger lighting, tighter crop (more zoom), and an enforced reading corridor (paint, bollards, speed bumps).
2.2 Capture distance: give the system time (and frames)
Capture distance is not only about zoom—it’s how long the plate stays readable in-frame. One guideline table ties minimum capture distance to an assumed processing time (example assumption: about 0.2 s, ~5 analyzed frames/sec), producing reference minimum distances like:
- 10 km/h → ~4 m
- 30 km/h → ~7 m
- 50 km/h → ~11 m
Parking takeaway: If vehicles roll through faster than expected (delivery vans, impatient drivers), your system may fail simply because the plate is readable for too short a time. You can solve this by:
- Increasing capture distance (within IR reach limits), or
- Forcing lower speed (speed bump, signage, lane narrowing), or
- Raising processed FPS / using edge LPR tuned for the lane.
2.3 Pixel density: choose a plate pixel target first, then pick lens/position
Two common ways targets are expressed:
- Pixels across the plate width:
- Many LPR workflows target ~100–150 px across plate width (not a universal law, but a common requirement).
- Other guidance recommends ~200 px minimum across the plate width for accurate detection in their pipeline.
What you should do:
- Find your LPR engine’s recommended plate pixel range.
- Decide the reading zone distance (e.g., 4–8 m at a gate).
- Pick lens FOV so the plate hits your target at that distance.
Avoid making the view too wide “to be safe.” Wider FOV often means smaller plates, and then you’ll chase performance forever with exposure tricks.
2.4 Depth of field (DOF): keep the reading zone sharp
Even if the plate is large enough, it must be in focus across the range where vehicles actually present. DOF is affected by aperture (iris), focal distance, and lens choice. Stopping down the iris can increase DOF but can hurt low-light performance.
Parking takeaway: Design a reading zone (for example: “plates readable from 4–7 m”) and focus/validate specifically across that band—not just at one distance.
3) Night performance: IR, gain limits, and WDR tradeoffs
3.1 IR reach vs shutter time: the trade you can’t escape
Short shutter time reduces blur but collects less light. Some capture guidance notes that longer shutter increases collected light and effectively improves IR range; reducing angle can allow longer shutter and can significantly improve IR performance.
Parking takeaway: If you need longer capture distance at night, you may need:
- Better IR power / tighter IR beam matched to the lens,
- Lower angle (so you can lengthen shutter without blur),
- Or reduced speed (so short shutter is still workable).
3.2 Gain control: reflective plates can overexpose
Reflective plates can “blow out” under IR at night (plate turns into a bright rectangle; characters vanish). A simple mitigation is to limit max gain so the plate doesn’t saturate. One reference suggests a practical max gain range (example: ~9–21 dB under certain built-in IR conditions), while other guidance recommends even tighter caps (example: ~9 dB).
Practical approach:
- Start with conservative max gain at night.
- Validate with real vehicles at different distances (small cars, SUVs, reflective/non-reflective plates).
3.3 WDR: helpful for humans, risky for moving plates
WDR is great for general surveillance, but for moving vehicles it can introduce motion artifacts depending on implementation. Some capture guidance recommends switching WDR off for license plate capture unless your camera explicitly supports a WDR technique that avoids those artifacts.
You’ll also see LPR vendors listing WDR “Off” in their recommended camera settings for plate capture.
Rule of thumb: Use WDR off for your LPR stream unless you have a proven, tested reason to keep it on.
3.4 Example baseline settings (starting points, not universal truth)
Different ecosystems publish starting-point settings. For example, one ALPR platform suggests:
- WDR: Off
- Max shutter: ~1/500 (or faster if close)
- Max gain: ~21
- High resolution stream with adequate FPS (and no WDR).
And another LPR guide suggests for parking:
- Shutter fixed ~1/500s
- Max gain ~9 dB
- WDR/Dynamic contrast disabled.
What’s consistent across both: short shutter + controlled gain + avoid WDR.
4) Environmental challenges: sun, rain/fog, dirt, occlusion
4.1 Sun-in-frame and glare (the “7am / 5pm failure mode”)
If the camera looks toward sunrise or sunset, you’ll face:
- Washed-out frames
- Lens flare
- Auto-exposure hunting
- Silhouetted vehicles with unreadable plates
Some installation guidance explicitly warns to consider sun position and shadows throughout the year, not just the installation day.
Mitigations (parking-friendly):
- Avoid east-west aiming when possible.
- Use a sunshield/hood and proper camera housing.
- Prefer a mounting point that keeps the sun out of the primary viewing axis.
- If unavoidable: tighten the reading zone (more zoom), increase IR, and validate at dawn/dusk.
4.2 Rain, fog, snow, frost: it’s not just “a little worse”
Weather can reduce visibility and contrast, limiting the effective detectable range.
Research evaluating ALPR under simulated weather distortions found that some conditions can drastically reduce accuracy—approaching zero in some cases—highlighting why robust capture design matters.
Mitigations that actually help:
- Shorter capture distance (bring the reading zone closer).
- Stronger, properly aligned IR.
- Keep lenses and illuminators clean (maintenance schedule matters).
- Add a second verification factor for high-value access points (badge/QR/RFID) when conditions are extreme.
4.3 Dirt, water spots, and insects: the slow performance killer
Parking entrances often have:
- Exhaust residue
- Insect strikes near IR sources
- Water spotting after rain
Operational practice: add a cleaning interval (e.g., weekly/monthly depending on site), and track read rate drops as a maintenance trigger.
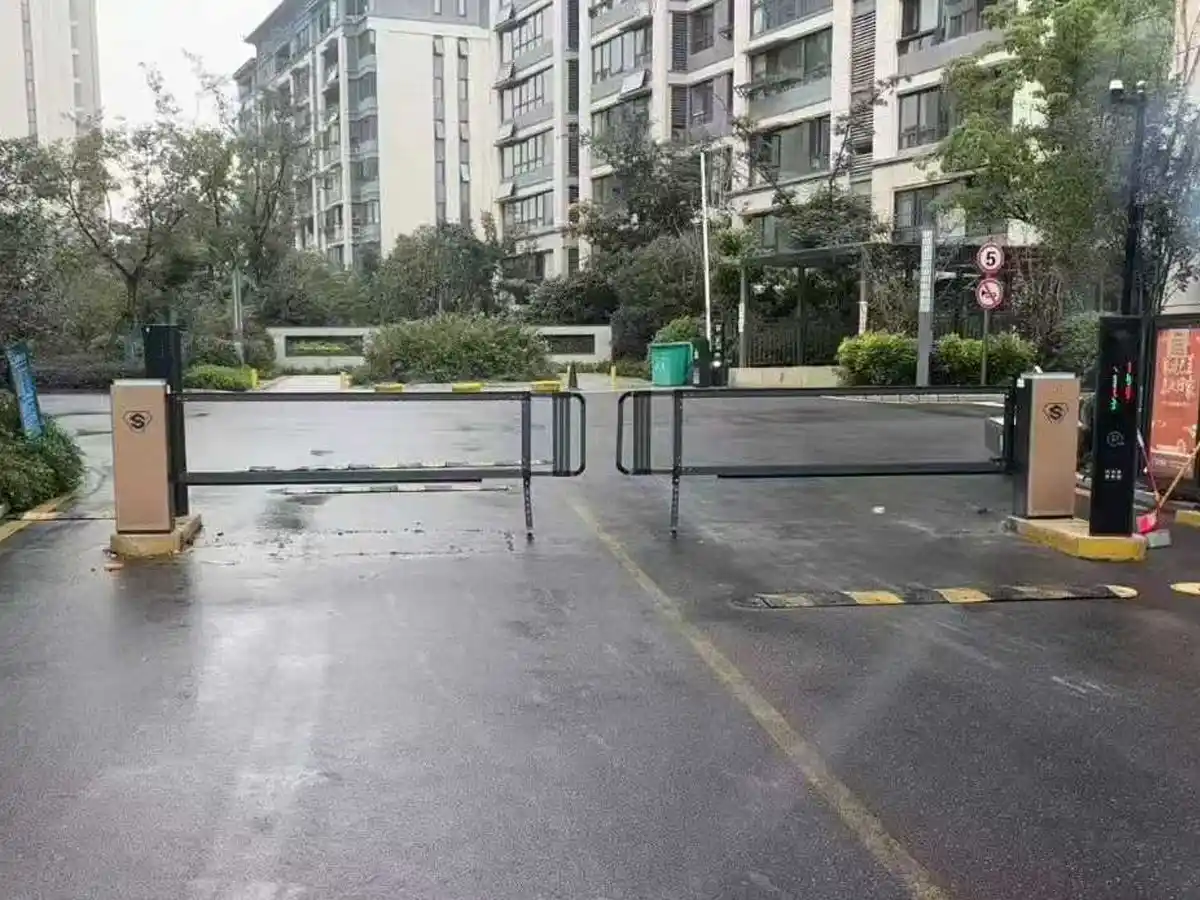
4.4 Occlusion control: design the lane so plates are visible
Common occlusions in parking/access control:
- Barrier arm cutting across plate line-of-sight
- A column or bollard in the plate region
- Tailgating (vehicle too close to another)
- Tow hitches / bike racks / plate frames
- Pedestrians crossing the lane (especially at hospitals)
Design moves that improve capture:
- Place the camera so the plate is visible before a barrier arm enters the plate region (or mount higher/offset).
- Use painted “stop here” markings aligned with your reading zone.
- Use speed bumps or chicanes to slow approach speed, reducing blur and improving repeat reads.
5) Commissioning checklist and troubleshooting
5.1 Commissioning workflow (repeatable, auditable)
flowchart TD
A[Mount camera + IR] –> B[Aim at reading zone]
B –> C[Set field of view: plate pixel target]
C –> D[Focus + verify DOF across zone]
D –> E[Exposure: set max shutter + max gain]
E –> F[Disable/validate WDR for motion]
F –> G[Day test: sun angles + peak traffic]
G –> H[Night test: reflective plates + headlight glare]
H –> I[Bad-weather assumptions + contingency]
I –> J[Collect samples + baseline read KPIs]
J –> K[Monitor + maintenance schedule]
5.2 A practical acceptance test (what to measure)
Track separate KPIs by lane + time-of-day:
- Plate read rate (overall, and by entry vs exit)
- Percentage requiring manual review
- “No-plate / unreadable” events (often occlusion or exposure)
- Dispute rate (if used for enforcement or billing)
5.3 Troubleshooting: symptom → likely cause → fix
Symptom: Plates blur during daytime
- Likely cause: shutter too long for angle/speed
- Fix: shorten shutter; reduce angle; slow vehicles; add light/IR if needed.
Symptom: Night plates are bright rectangles (characters vanish)
- Likely cause: gain too high + reflective plate saturation
- Fix: cap max gain; reduce IR intensity or tighten beam; verify distance.
Symptom: Good at noon, terrible at sunrise/sunset
- Likely cause: sun-in-frame / flare / exposure hunting
- Fix: change aiming direction, add shielding, tighten reading zone, validate again.
Symptom: Random misses during heavy traffic
- Likely cause: occlusion/tailgating OR insufficient processing budget
- Fix: lane separation, physical spacing, or adjust LPR processing rules (FPS/stop criteria) depending on your platform.
Recommended diagrams/images to add to this page (with SEO-friendly alt text)
If you publish this article, include 3–5 original diagrams/photos. Google uses alt text + page context to understand images, and recommends descriptive, non-keyword-stuffed alt text.
- “Good vs bad angle” illustration
- Alt: “Comparison of LPR camera angles: low-angle head-on view vs steep side angle causing plate distortion”
- Annotated lane photo showing camera + IR relative to stop line
- Alt: “Parking entrance lane with LPR camera and IR illuminator positioned to capture plates at the stop line”
- Exposure pipeline diagram (shutter → gain → IR → saturation)
- Alt: “Exposure pipeline for license plate capture showing shutter speed, gain limit, IR lighting, and overexposure risk”
- Commissioning flowchart (the mermaid diagram above rendered as an image)
- Alt: “Commissioning steps for parking LPR: mount, aim, focus, exposure, validate day and night, monitor KPIs”
FAQ (for readers who are implementing this next week)
What matters more: higher resolution or better placement?
Placement and plate pixel density matter more. If the plate is blurred, occluded, or overexposed, higher resolution won’t save it.
Should I use WDR for parking LPR?
Usually no—unless you’ve validated that your specific camera’s WDR won’t introduce motion artifacts for moving plates.
Why does my system work in dry weather but fail in rain or snow?
Weather can reduce contrast and visibility, and ALPR accuracy can drop sharply under distortions; design for worst-case days and keep the reading zone tight.
Need Help with Lane Design or Volume Supply?
Huizhou Shunjie Technology is an ANPR/ALPR manufacturer for parking access-control applications. If you’d like technical guidance on camera placement/settings or need a bulk quotation, contact us here:
https://shunjiebarrier.com/contact/